On my other blog I used to write up a reflection of the year, so I thought I would continue that tradition and write it in my new blog :D
So it looks like I'll be entering 2011 sick :( It seems like being sick on New Year's Eve is also a tradition of mines - I always feel like I'm always sick on NYE :( Not a fun way on spending my winter vacation :P
I would call 2010 the Year Of Adventure.
I got to travel to two very different places in the world - Paris and Peru. The only thing these places had in common (in my opinion) was that they both photographed very well :) I enjoyed wandering the streets of Paris with my travel buddies & hubby, and eating macaroons and all the fantastic French cusine - c'est bon! Peru was amazing - I will never forget the thrill of hiking the Inca Trail and enjoying the weekend park dance party in Lima. It really made me just love life in the simplist form, and I can't wait to go back to South America for another adventure.
Another adventure was definitely starting up my Etsy store. I never thought I would be able to make a bit of money on the side by knitting :) My hobby and obsession has become a self-sustaining one!
I am looking forward to 2011 - I already have my knitting goals planned out. I hope to learn how to spin and dye my own yarn - I already bought starter kits for both projects so I'm well on my way!
Thanks 2010 - but I know 2011 will be better! :D Happy New Year everyone!
December 31, 2010
December 27, 2010
Thrummed Mittens
Happy Holidays everyone! It's been a while since I blogged! I've been knitting up a storm the past month - knitting for both my personal gifts and for my Etsy store. I was really cutting it close! I think I finished knitting my last x'mas gift on the 23rd :S I was so frazzled with knitting and planning this blog post on thrummed mittens, I've forgotten to take photos of most of the items I as gifts. I made cowl neck scarves for my BFF Rita and my sister-in-law using hand dyed yarn I purchased off cowgirlknits on Etsy, a hooded scarf for my sister (I ended up making up my own pattern - I might have to fix it though, the hood might be too small) and 3 pairs for thrummed mitts for my mom, Ed and my close friend Flo. To make matters more stressful, X'mas dinner was at our house again for the second year and a row, and the pressure was on to cook a tastey turkey (it was delicious last year, so I had something to live up to!). Thank God I was given Friday off :D

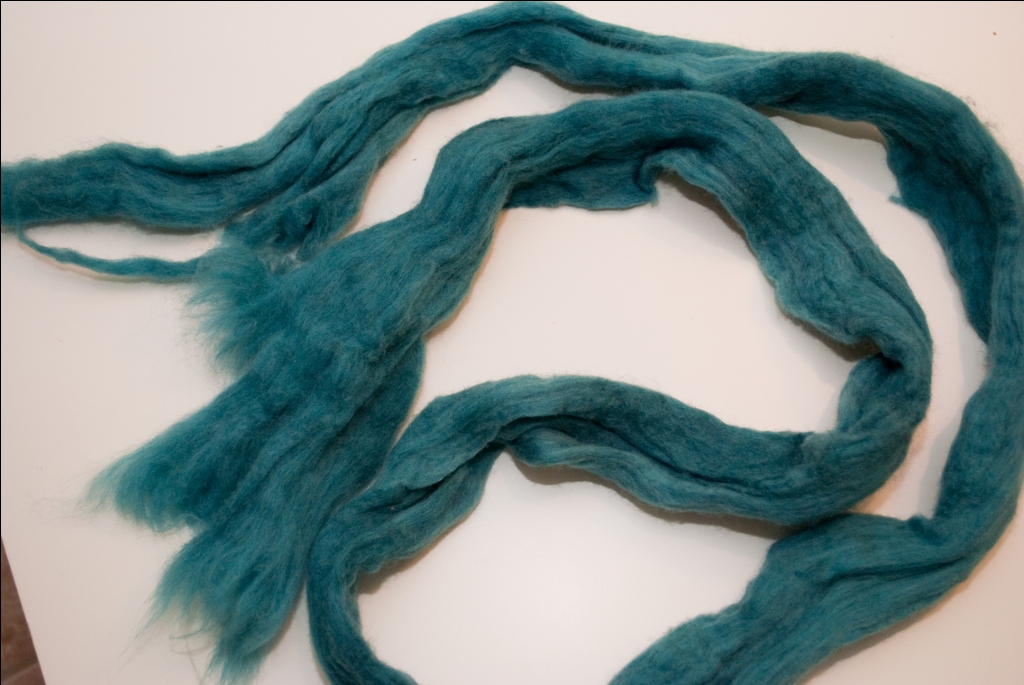
So, lets get to the thrummed mittens! As I mentioned in my last post, thrummed mittens are the warmest mittens ever! Pieces of wool roving is knit into the mitts as you make them, and in the end you get mittens with a wool lining in the middle. They are pretty labour intensive as this involves tearing the roving into little pieces. If this is your first thrummed mitten project I would suggest you buy a thrummed mitten kit - it usually comes with yarn and the roving. I personally love the Fleece Artist thrummed mitten kits - I love the yarn/thurm colour combinations, and the pattern is easy to follow.
 The roving comes in long piece that you'll have to rip into pieces.
 I normally rip them into 5" long by 0.25" wide pieces. I usually rip a large piece widthwise across that is 5" long, then rip them into 0.25" pieces. The first time I made them the lady at the yarn store that sold me the kit told me to the large pieces widthwise with a pair of scissors, then tear into thin strips, but my aunt told me it's better to just rip everything by hand because the roving will mat together better when you wear the mitts, forming a better lining. I've done it both ways and found my aunt is right :) Each of these strips must be teased, and elongated - so they are about 7" long. The better you tease them, the warmer your mitts will be :) Fold the two ends towards the middle and pinch the middle (your piece will look like a figure 8).
 Most website tell you to rip all the pieces before you begin the knitting process, but if you're anything like me, you're just super excited to get started with the mitts. What I normally do is just rip some pieces, and when my hands hurt from ripping the roving I switch over to knitting :)
There are different methods to thrumming - ones that make them look like hearts, others that make them look like little balls. I personally like them looking like little balls :) Instructions are below:
 *Following your thrum mitten pattern* Knit until the pattern calls knitting in the thrumming.
 Insert your needle through the hole in the row below located between the previous and the next stitch.
 Take the thrum piece and fold it in half.
 Taking the folded piece, fold the thrummed piece over the needle.
 Pull the thrummed piece through the hole. Knit the next stitch.
 Pull the thrumming over the knitted stitch.
 ....like so..... :)
 Pull the thrumming from the back (but not too tight!)
 And... volia! Consider the mitt thrummed! Continue with your pattern/thrumming.
 This is what it should look like when you flip the mitt inside out
Here are a few photos of thummed mitts I made myself. The first photo is of my very first pair of thrumm mittens I've ever made. They're big mitts (LoL they look kinda like oven mitts!) but so warm :) They shrank a little bit when I washed them though..


.... as for my turkey - it was delish! :D

So, lets get to the thrummed mittens! As I mentioned in my last post, thrummed mittens are the warmest mittens ever! Pieces of wool roving is knit into the mitts as you make them, and in the end you get mittens with a wool lining in the middle. They are pretty labour intensive as this involves tearing the roving into little pieces. If this is your first thrummed mitten project I would suggest you buy a thrummed mitten kit - it usually comes with yarn and the roving. I personally love the Fleece Artist thrummed mitten kits - I love the yarn/thurm colour combinations, and the pattern is easy to follow.


There are different methods to thrumming - ones that make them look like hearts, others that make them look like little balls. I personally like them looking like little balls :) Instructions are below:


Here are a few photos of thummed mitts I made myself. The first photo is of my very first pair of thrumm mittens I've ever made. They're big mitts (LoL they look kinda like oven mitts!) but so warm :) They shrank a little bit when I washed them though..


.... as for my turkey - it was delish! :D
December 8, 2010
Mentions on Etsy/Blogs
Hello blogging world! I have been M.I.A for a bit, been knitting up a storm! I feel like I'm behind on my knitting, although I think it's just me trying to stress myself out to push me to keep knitting! My hands are starting to hurt! I've been busily knitting thurmmed mittens lately and tearing the thrumming is hard on the hands :S What are thrummed mittens you ask? Only the warmest mittens EVER! Click here to find out about thrummed mittens! I will post my thrummed mitts soon.
So I've also been busy with my Etsy store - sales are going pretty good so far :D Over the past few days I've been mentioned in a few lovely treasuries and even been blogged about :D I thought I would share all these wonderful links here:
Farrielle Design and Fashionista - Silver Gray Wrist Warmers featured in Farrielle's fun blog
Button up... baby it's cold outside... - Moss Green Wrist Warmers featured in wendyhammerdesigns' Etsy treasury
Have yourself a very Minty Christmas - Gifts under $25 - Mint Chocolate Cashermino Baby Booties featured in KellysKeepsakes' Etsy treasury
Knitted Gifts to Keep You Warm - Winter Blue Wrist Warmers featured in RainyDayArt's Etsy treasury
So I've also been busy with my Etsy store - sales are going pretty good so far :D Over the past few days I've been mentioned in a few lovely treasuries and even been blogged about :D I thought I would share all these wonderful links here:
Subscribe to:
Comments (Atom)